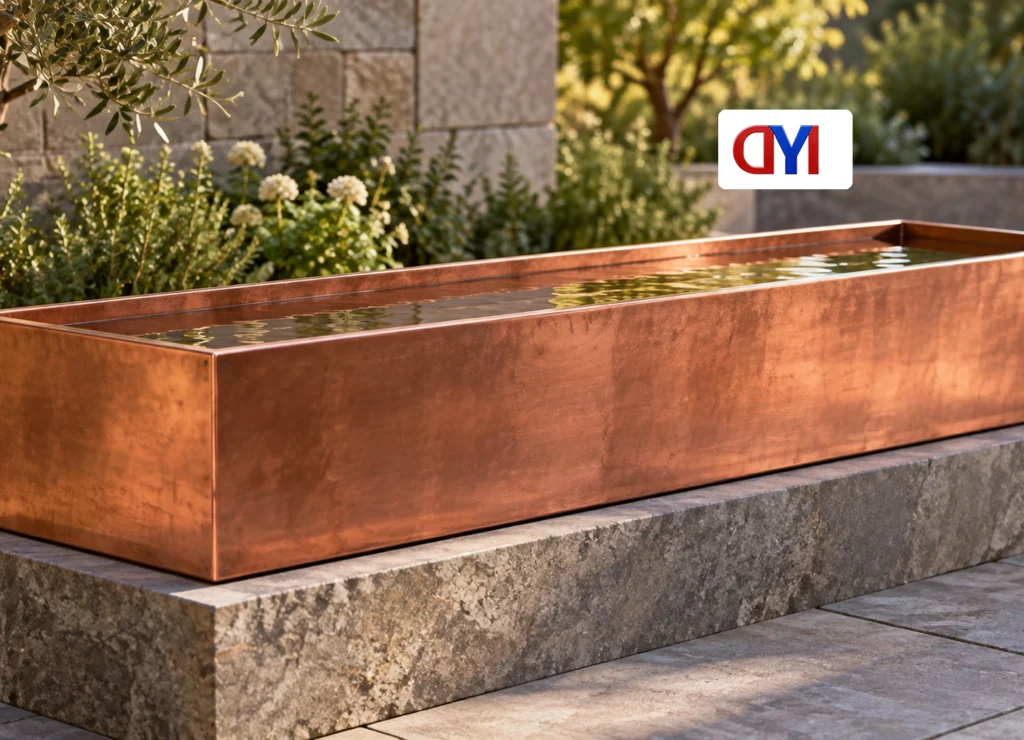
Illustrative scenario: When a fabricator in Bristol filled a new copper trough on a workshop bench, water appeared at one end corner. Replacing the sheet would not fix the missing seam allowance and unsupported joint. The drawing and dry-fit needed correction before the joint could be sealed.
Summary: Build a copper sheet trough by confirming formable stock, making a full-size pattern, bending the body, mechanically supporting the end joints and sealing them with compatible lead-free solder and flux. The Copper Development Association identifies C12200 as phosphorus-deoxidized copper with at least 99.9% copper including silver and good soldering suitability. Select thickness and temper for the actual span and water load; no single gauge fits every trough.
This workflow is for a non-potable decorative water feature, not drinking water, food contact or aquatic use. CDA architectural joint principles provide context; a custom trough still needs its own drawing, support design and leak check.
Choose the alloy, temper and support together
Specify alloy, temper, thickness tolerance and surface condition together. Formable Copper sheet is easier to fold than harder stock, but softness does not guarantee stiffness. Span, water depth and equipment loads determine thickness and support spacing.
CDA lists C12200 with 0.015-0.040% phosphorus and suitability for soldering and brazing. C11000 is electrolytic tough-pitch copper, also with at least 99.90% copper including silver. Confirm the chosen stock and joining procedure with the supplier; do not infer an oxygen-free grade from a product name.
Thicker copper plate may offer greater stiffness, but adds weight and forming demands. Check the bends and equipment capacity; increasing thickness cannot replace evaluating support and joint design.
Make a pattern that resolves bends and end joints
Draw the internal dimensions, base, sides, two end caps, top edges and joints. Include bend allowances and seam overlaps based on thickness, radius and tooling; blank width is not simply the base plus twice the side height.
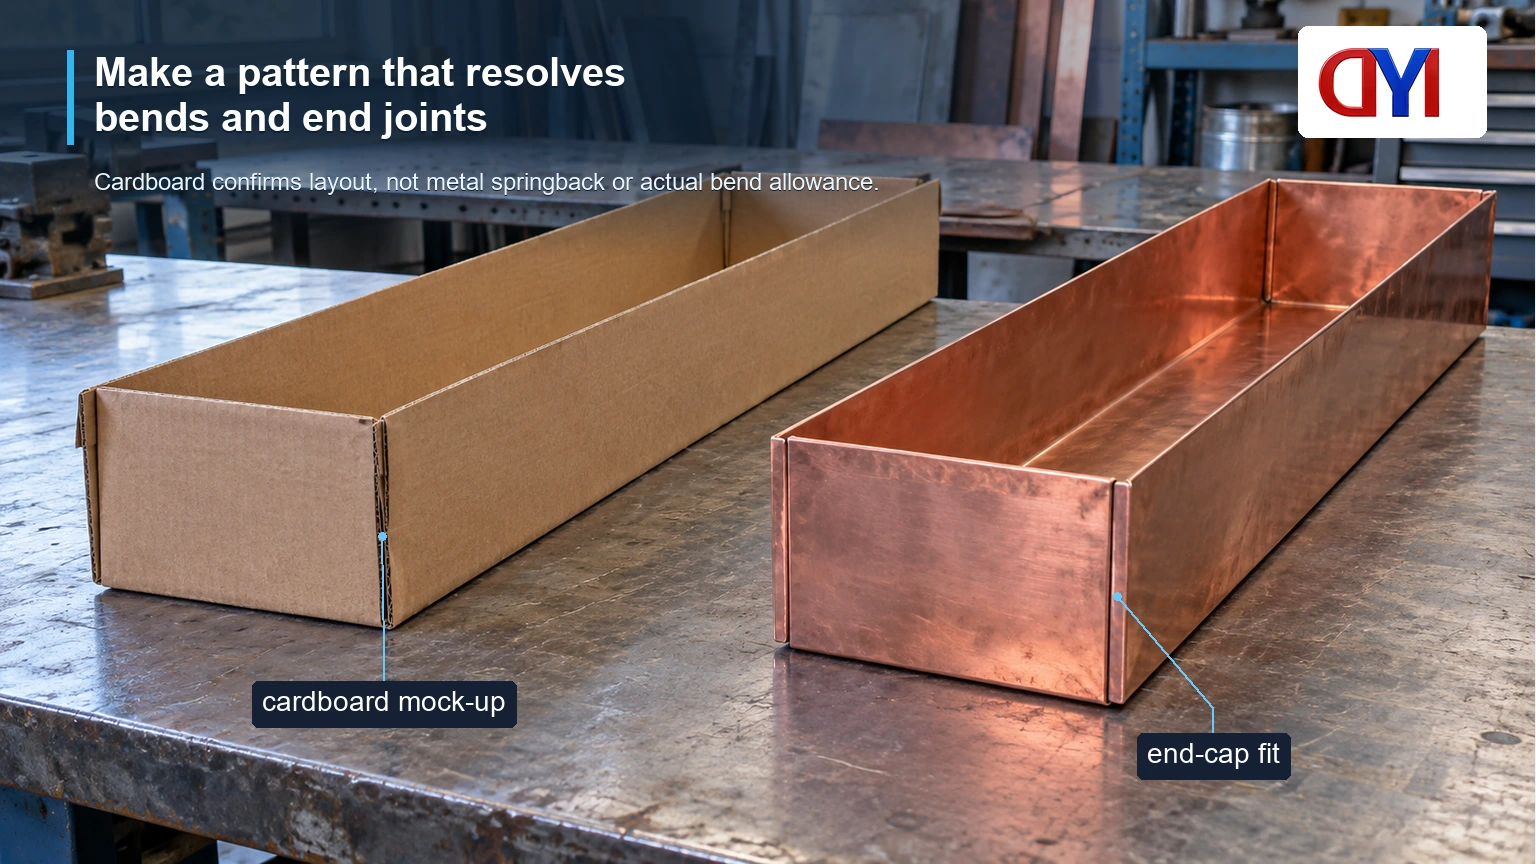
Make a full-size cardboard mock-up with every fold and overlap marked. Check end-cap position, corner closure and soldering access. Cardboard confirms layout, not metal springback or actual bend allowance.
An illustrative internal water space of 600 x 150 x 80 mm holds 7.2 litres, weighing approximately 7.2 kg. Add copper, fittings and equipment to the support load. Specify working level, freeboard and overflow separately; 80 mm is the calculation depth, not a recommended level. CDA architectural details inform joint geometry, not this load calculation.
Cut, deburr and dry-fit before joining
Transfer the pattern and identify the finished face. Use equipment rated for the stock, keep hands clear and wear suitable eye and hand protection. Deburr every cut edge before handling or folding; apparently smooth edges can remain sharp.
Use a suitable brake and follow supplier bend-radius and tooling limits for the thickness and temper. Trial a matching offcut where practical. No universal bend radius applies to unspecified stock and tools.
Dry-fit the body and both end caps; check diagonals, corner contact, flatness and support. Resolve corner closure and tool access during fabrication planning . Use the CDA architectural handbook as detailing guidance and agree the joining method for the actual alloy, thickness and service conditions.
Support the joints, seal them and check for leaks
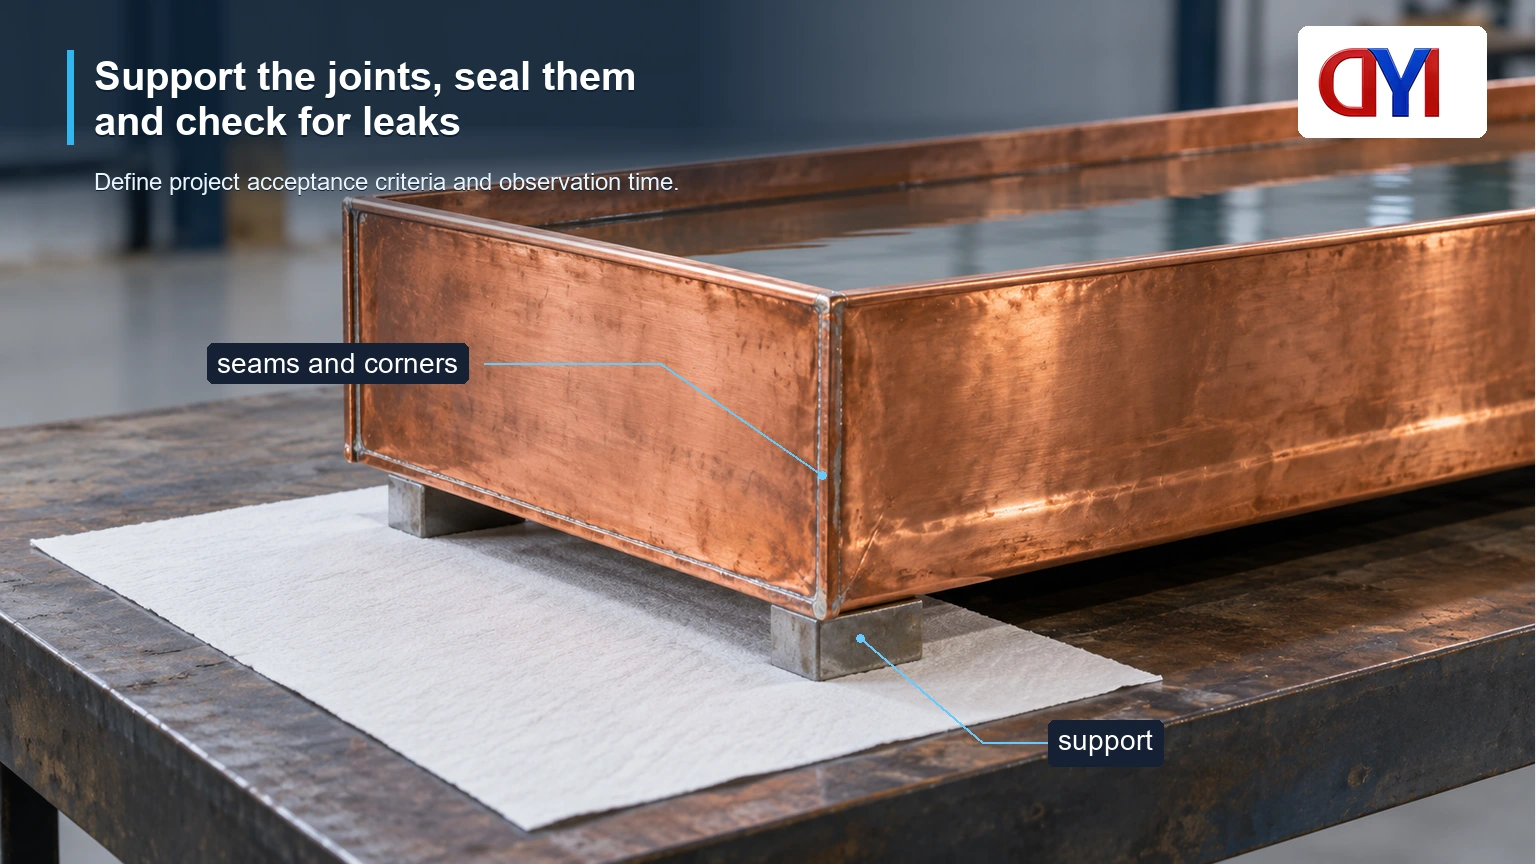
Use an overlapped or folded seam designed to hold parts and transfer loads. Solder seals a supported joint; it should not be the only structural bridge across a gap. Keep layered corner intersections accessible for cleaning and heating.
A copper strip can serve as a seam cover or local reinforcement only when its attachment and load path are designed and its material is compatible. Adding a strip does not automatically repair a weak joint or eliminate leakage at the ends.
Choose lead-free solder and flux suitable for copper and the intended exposure. Follow manufacturer preparation, heating, ventilation, protection and residue-removal instructions. Lead-free solder alone does not establish potable-water compliance. CDA’s C12200 solderability rating is not approval of every consumable combination.
Leak-test on the intended support before connecting electrical equipment. Fill progressively to working level, inspect seams and corners, and recheck any repair. Support the illustrative 7.2 kg water load during testing. Define project acceptance criteria and observation time; do not claim a universal certified test.
Compare material choices by fabrication requirements
| Material choice | Practical advantage | Trade-off to verify |
|---|---|---|
| Formable sheet body | Supports a folded base-and-side pattern | Temper, bend allowance, deflection and support |
| Thicker copper plate | May increase stiffness for a chosen geometry | Added weight, brake capacity and corner fit |
| Designed copper strip detail | Can cover or reinforce a specified joint | Attachment, trapped residue and local water exposure |
| Harder sheet condition | May suit selected stiffness requirements | Formability, springback and allowable bend radius |
Compare the finished assembly, not stock price alone. Extra thickness, additional seams and poor tool access can increase fabrication time even when the blank itself is inexpensive.
Translate water-feature duties into a purchasing brief
| Planning item | Illustrative requirement | Cost or design consequence |
|---|---|---|
| Internal water space | 600 x 150 x 80 mm gives 7.2 litres | At least the calculated water mass, plus assembly loads, must be supported |
| Decorative trough | Defined working level and accessible drain | Freeboard, overflow route and cleaning access affect details |
| Recirculating fountain | Pump selected for actual head and desired flow | Reservoir capacity, tubing, splash and access affect the system |
| Surface expectation | Agreed finish and acceptable appearance change | Handling marks, maintenance and any coating need evaluation |
These are planning examples, not a product specification or price quotation. Copper can change appearance in outdoor and wet service; agree on the expected patina and maintenance before ordering.
Separate material standards from finished-trough acceptance
The CDA alloy pages list ASTM B152/B152M for relevant flat copper products. Specify the applicable edition and material requirements with the supplier; a flat-stock standard does not certify the completed trough’s watertightness, structural capacity or suitability for drinking water.
The CDA architectural handbook addresses architectural copper details and workmanship. Its scope is not finished fountain certification. Electrical requirements depend on location and installation: have a qualified installer select wet-location-rated equipment and apply the local GFCI or RCD requirements. Keep electrical commissioning separate from metal fabrication and leak testing.
For food, potable-water or aquatic use, assess the complete system, including copper exposure, water chemistry, solder, flux residues, coatings and destination rules. Do not assume that a successful leak test establishes those uses or makes copper safe for fish.
For a recirculating fountain, specify the trough and hydraulic system separately. Confirm the reservoir’s usable volume, pump duty at the actual lift, return route, overflow destination and access for cleaning. Do not put fish, edible plants or drinking-water service into this decorative-use design without a separate materials and water-chemistry assessment. A successful leak check answers only whether the tested arrangement held water under the agreed conditions.
Agree on four decisions before ordering
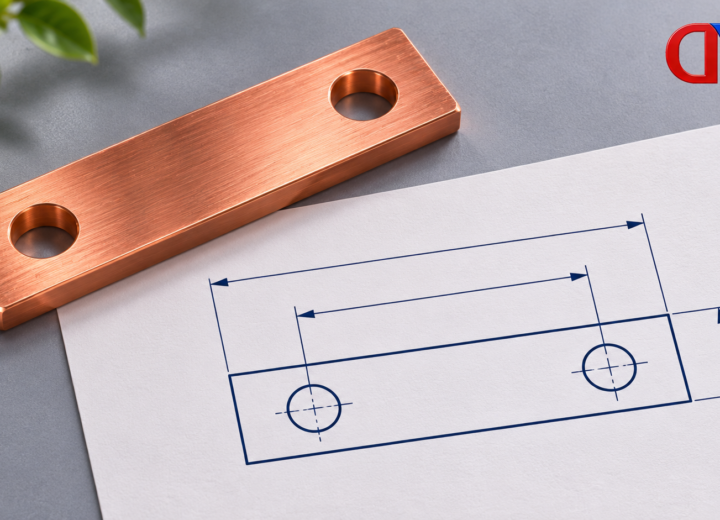
- Send a dimensioned drawing showing working water depth, support points, end-cap arrangement, seams and overflow.
- Request alloy, temper, thickness tolerance and finish information, with any required material documentation.
- Agree on forming limits, joining consumables, accessible cleaning and the finished assembly’s acceptance checks.
- Ask DONGYAO which metal-component supply or fabrication requirements it can support; use the contact page to confirm scope before purchase.
Frequently asked questions
What are some things I can make with copper sheet?
Decorative panels, formed trays, edging and small non-potable troughs are possible projects. Match the alloy and temper to the bends, and assess any water or contact use separately.
How to build a trough fountain?
First fabricate, support and leak-test the trough. Add a suitable reservoir, controlled overflow and a pump matched to actual head and flow; have a qualified installer handle wet-location electrical equipment and protection.
What are copper sheets good for?
They are useful where formability, appearance and joinable metal surfaces matter. The right grade and condition depend on the application, and decorative use does not imply potable-water or aquatic suitability.
How thick should copper sheet be for a trough?
There is no universal thickness. The unsupported span, water depth, edge folds, temper, joint detail and available forming equipment determine the requirement. Send those inputs with the drawing and agree on the support arrangement before buying stock.
References
- Copper Development Association: Copper in Architecture Design Handbook – architectural detailing and workmanship context.
- CDA C12200 alloy data – composition, joining suitability and listed material standards.
- CDA C11000 alloy data – electrolytic tough-pitch copper composition and listed flat-stock standards.
A reliable trough is a supported, well-fitted assembly first and a sealed container second.
Review DONGYAO’s metal products, then submit the drawing and intended use for a material and supply discussion.
For related conductor products, view the product categories.