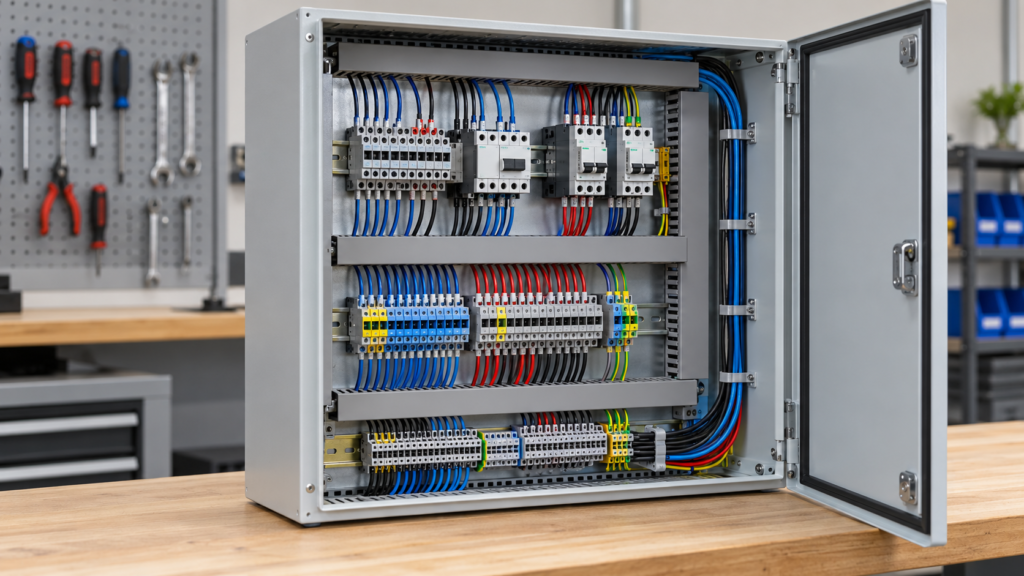
When Priya, a controls trainee in Pune, energized a practice cabinet after copying a wiring diagram, a contactor chattered, a fuse opened, and the panel went dark within seconds. The visible failure looked like a defective component; the reversal came when the instructor traced a swapped common, an unlabeled spare conductor, and a terminal selected without checking its wire range. The root cause was the learning and specification process, not simply a “bad” part.
Summary: To learn Wiring panel work safely, study the circuit purpose, physical routing, terminal selection, labeling, isolation, testing, and enclosure protection as one workflow. A four-stage routine—read, build, verify, document—gives beginners a repeatable path; NFPA 70 and OSHA 29 CFR 1910.303/1910.304 provide market-specific safety context, but neither turns a terminal block into a protective device. Begin with a low-energy training board, use a current drawing revision, and test every changed connection before applying power.
Wiring panel training starts with the circuit story and the work boundary
A control panel is easier to learn when its functions are narrated before its wires are touched. Identify the power source, control voltage, inputs, outputs, protective devices, disconnecting means, and loads that can move or heat. Then mark which conductors are energized, isolated, or used only for measurement. This map prevents a learner from treating every screw terminal as interchangeable.
Use a current schematic and physical layout together. The schematic explains electrical intent; the layout explains where a wire, duct, fuse, relay, terminal strip, or shield sits. A revision block, wire number, and destination reference should agree across both documents. When the drawing and panel disagree, stop and resolve the discrepancy rather than “making it work” by memory.
A wiring board workflow separates training, labeling, isolation, and testing
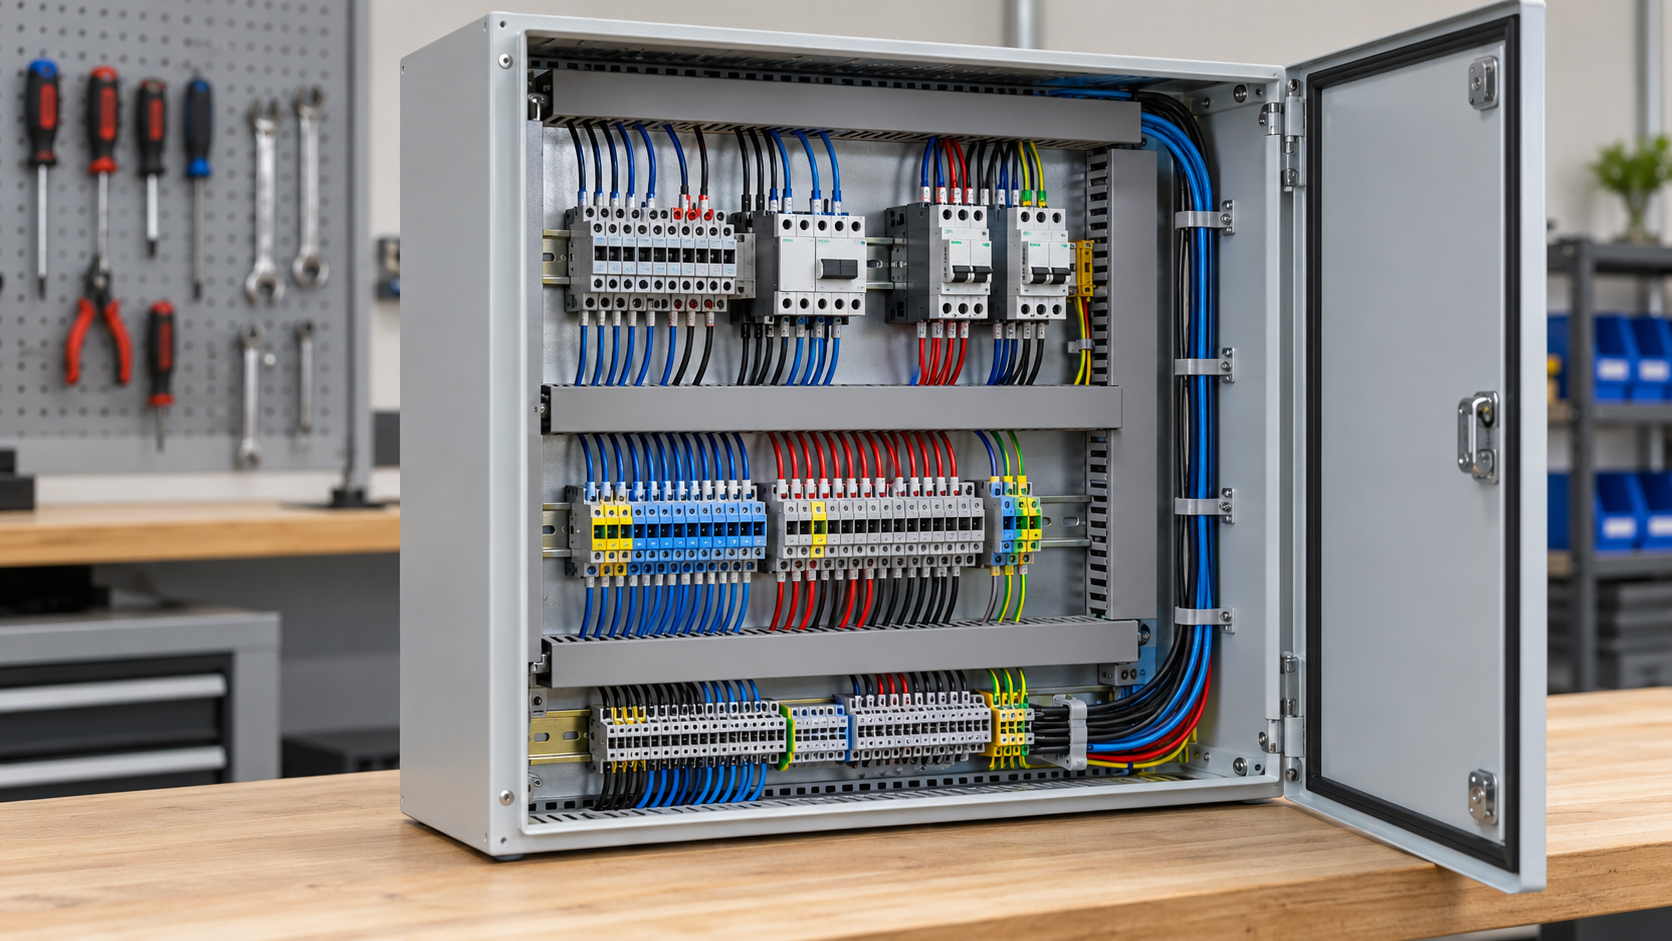
A useful practice wiring board has a visible boundary between the source, the control circuit, and the load simulator. Build one function at a time: first continuity with power removed, then insulation and short-circuit checks where appropriate, then a controlled functional test. A multimeter continuity check can reveal an open wire, but it cannot prove that a circuit is safe to energize or that a protective device is correctly rated.
Label before the conductor disappears into the duct
Label both ends of each conductor with a durable identifier that matches the drawing. Keep spare wires capped and identified rather than leaving loose copper in the enclosure. For shielded or paired conductors, document the termination method and the point at which the shield is bonded; do not assume that every signal should be bonded at both ends.
Isolate before testing and test before troubleshooting
Isolation is a procedure, not a label. Follow the destination market’s lockout and verification rules, identify all energy sources, and prove the absence of voltage with a suitable instrument before moving conductors. During commissioning, record the test method and result: continuity, polarity, terminal torque, insulation resistance, dielectric withstand, or a functional sequence test as applicable to the design. A test record with the date, drawing revision, and instrument identifier is more useful than a handwritten “OK.”
Protection is a separate design layer. A terminal block joins and organizes conductors; a fuse, circuit breaker, current limiter, or other approved protective device addresses overcurrent. Keeping those roles distinct is essential when a learner builds a small wiring board and later transfers the method to a production enclosure.
Terminal block selection depends on the conductor, environment, and service task
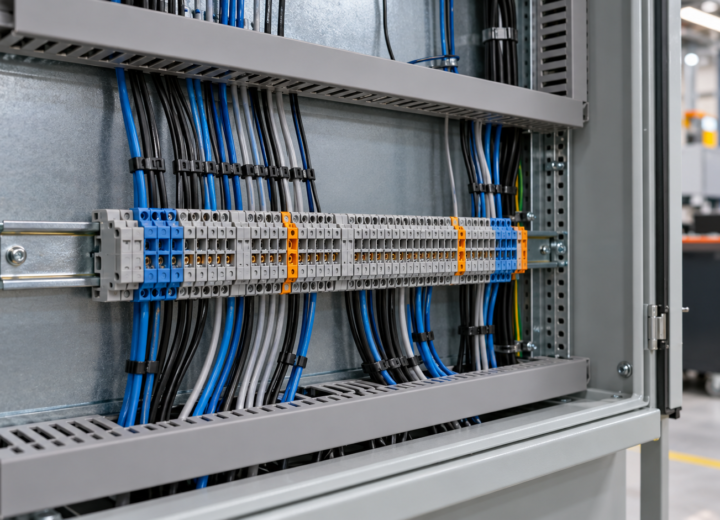
Choose a terminal block only after the conductor type, cross-section range, insulation diameter, current and voltage duty, short-circuit context, temperature, and access requirements are known. A block that accepts the wire mechanically may still be unsuitable for the required current, creepage, clearance, or ambient condition. Read the manufacturer’s technical data for the exact family and accessory combination; do not infer ratings from appearance or color.
For learning, compare feed-through, ground/PE, fused, disconnect, and multi-level arrangements as different functions. A ground terminal has a bonding role and installation rules that are not the same as a signal terminal. A fused terminal integrates a fuse holder, but the fuse remains the protective element and must be selected for the circuit. A disconnect terminal can support service isolation, yet the complete isolation scheme still depends on upstream devices and the applicable code.
Use a three-check fit test before accepting a terminal block
First, confirm the conductor fits the stated clamping range and that the strip length matches the instruction. Second, confirm the tightening method and torque with a calibrated tool; torque is a process control, not a substitute for a current rating. Third, inspect the finished termination for exposed strands, insulation under the clamp, damaged ferrules, and a wire marker that remains readable after routing. A pull or retention check can supplement visual inspection where the assembly procedure requires it.
Wiring panel approaches can be compared by risk, serviceability, and total cost
| Approach | Learning value | Serviceability | Main risk to control | Cost tendency |
|---|---|---|---|---|
| Loose point-to-point wiring | Shows circuit logic quickly | Hard to trace after changes | Mislabeling and accidental crossovers | Low initial, high rework exposure |
| Organized terminal rows | Teaches destination references and isolation | Good probe access and replacement path | Wrong terminal type or bridge arrangement | Moderate, often lower total labor |
| Preassembled harness | Teaches documentation and interface control | Fast replacement when documented | Hidden routing or incorrect pinout | Higher preparation, repeatable assembly |
| Plug-in modular sections | Teaches segregation and maintenance planning | Fast change-out with keyed interfaces | Unintended mating or incomplete insertion | Higher hardware, potentially lower downtime |
This comparison is illustrative rather than a price list. Total cost includes drawing time, labeling, test labor, troubleshooting, spares, and the cost of an avoidable outage. For a small training project, the organized terminal-row approach usually exposes the most useful decisions without hiding them inside a finished harness.
Wiring panel sourcing should begin with a documented selection brief
Use five procurement actions: define the circuit and environment; list conductor and accessory requirements; request the exact technical data; approve a sample termination; and lock the drawing revision before production. Ask for wire-range, torque, temperature, voltage, current, and accessory information for the complete terminal assembly, not a generic series name.
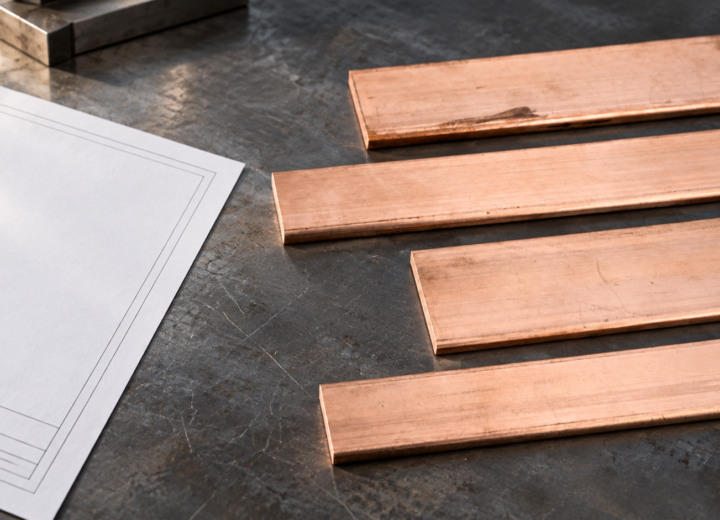
DONGYAO is best treated as a sourcing and engineering conversation for copper busbars, copper plates, brass plates, and electrical connection components. Where a panel design needs a formed or machined conductive interface, review the copper busbar terminals for cabinet assemblies article and confirm the drawing, finish, and inspection expectations before requesting a quotation. This is a restrained starting point, not a claim that DONGYAO supplies every terminal-block style.
Inspection of a generic control cabinet should connect the physical wiring to the drawing revision and recorded test results.
Frequently asked questions
What Does a Terminal Block Do?
A terminal block joins, organizes, and provides a service point for conductors inside an enclosure or on a mounting rail. It can support labeling, testing, and segregation, but it is not automatically an overcurrent protective device. Select the exact style for the conductor, environment, and required isolation function.
How Is a Terminal Block Mounted?
Common methods include DIN-rail mounting, direct screw mounting, or a manufacturer-specific carrier. Follow the selected product’s mounting direction, end-stop, bridge, and clearance instructions, then verify that the rail or panel is bonded where the installation requires it. Mechanical mounting does not replace torque, wiring, or protective-device checks.
What Are the Main Types of Terminal Blocks?
Common functional types include feed-through, ground/PE, fused, disconnect, multi-level, and sensor or distribution blocks. The category describes the intended function, not a universal rating. Check the exact datasheet for wire range, current, voltage, temperature, accessories, and any required tool or test method.
What Is a Wiring Panel Used For?
A wiring panel organizes power and control connections so a system can be assembled, tested, isolated, and serviced with traceable documentation. It may be a training board, a machine cabinet, or a field retrofit interface. The panel does not become safe merely because the wires look tidy; protection, enclosure, grounding, and verification remain separate design duties.
References
- NFPA 70, National Electrical Code
- OSHA 29 CFR 1910.303, General electrical requirements
- OSHA 29 CFR 1910.304, Wiring design and protection
The reliable habit is simple: make every conductor explainable, every terminal selectable, and every test record traceable to the drawing. When your next assembly needs a copper connection component or a practical sourcing discussion, review DONGYAO’s copper and electrical connection products, then contact DONGYAO with the application and drawing details.
For related conductor products, view the product categories.